
The Ultimate Guide for the Lost City Trek in Colombia (Ciudad Perdida)
Learn everything about the Lost City, also called Ciudad Perdida, in Colombia. I will tell you everything you need to know before going on the Lost City Trek and give you a detailed description of what every day will be like.
And while you’re in Colombia, be sure to visit Valle de Cocora, one of the country’s most stunning natural wonders. This ultimate guide to Valle de Cocora has everything you need to know to make the most of your visit, from how to get there and where to stay to what to see and do. With its towering wax palm trees and breathtaking landscapes, Valle de Cocora is a true gem of Colombia that’s not to be missed.
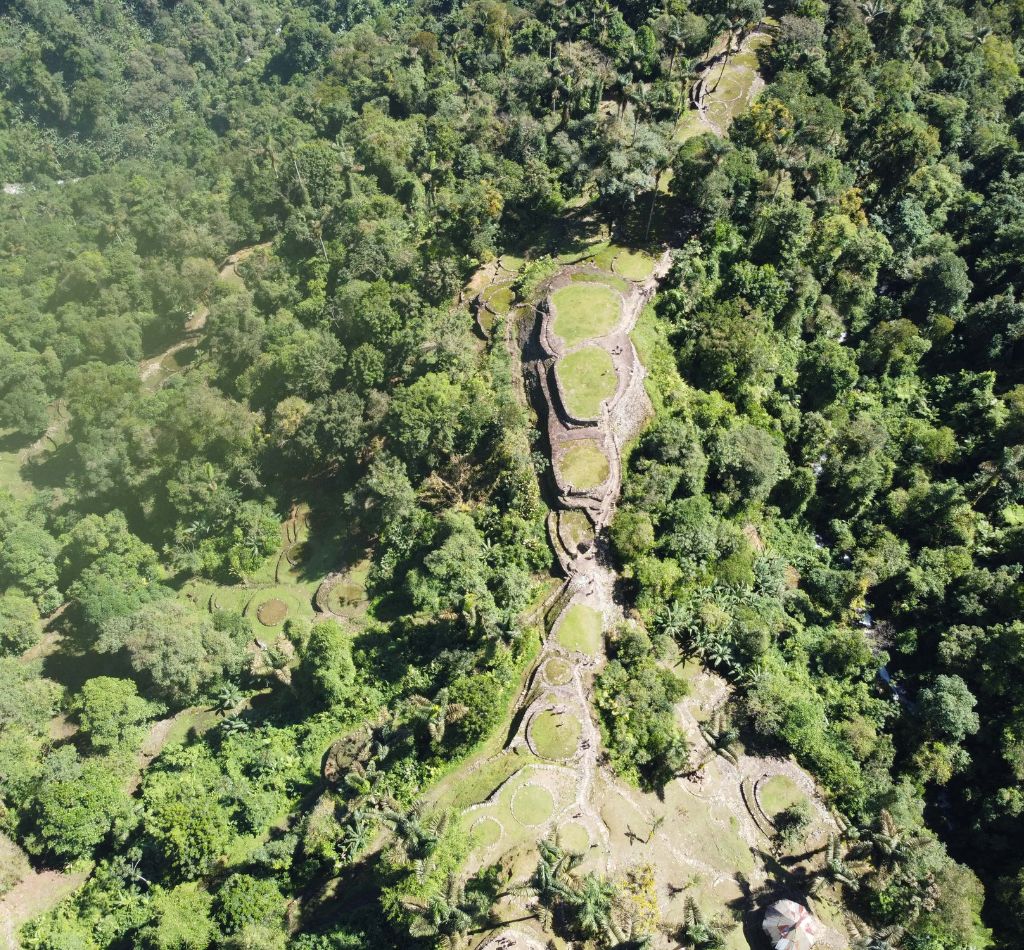
We’re deep in the Colombian jungle. I am exhausted and sweaty, my feet are wet, but we are finally here. The Lost City, which you can only reach through a hike that overall lasts 4 days. We are standing at the top of the Ciudad Perdida and can not believe we finally made it. What a view – in the middle of nowhere.
Everything you Need to Know for the Lost City Trek in Colombia (Ciudad Perdida)
What is the Lost City or Ciudad Perdida in Colombia?
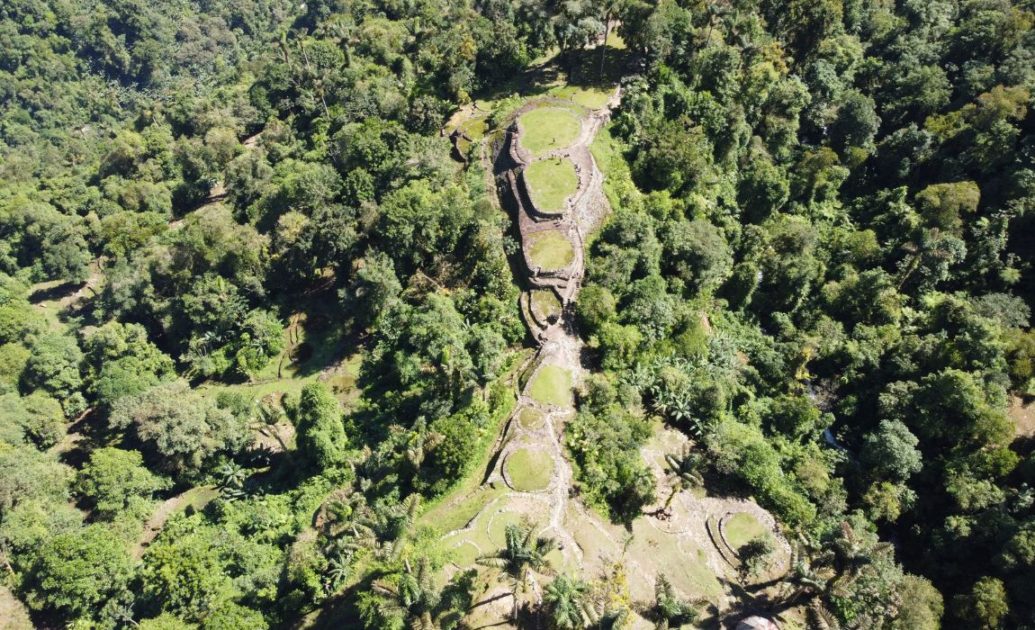
The Ciudad Perdida is an ancient city built between the 7th and the 8th centuries by the indigenous Tayrona community. Therefore, it is an archaeological site much older than Machu Picchu.
Some thousands of people lived in this city, hidden in the middle of the Sierra Nevada mountains in Colombia. Then, because of the colonization, the Ciudad Perdida was eventually abandoned by the Tayronas due to the spread of illnesses such as tuberculosis.
It was not until 1927 that the Lost City was discovered again. These so-called explorers were treasure looters and stole the gold of the Ciudad Perdida. They damaged the site for 3 years before the Colombian government intervened. They reached the city in 1976 and began a careful excavation and restoration that was completed six years later.
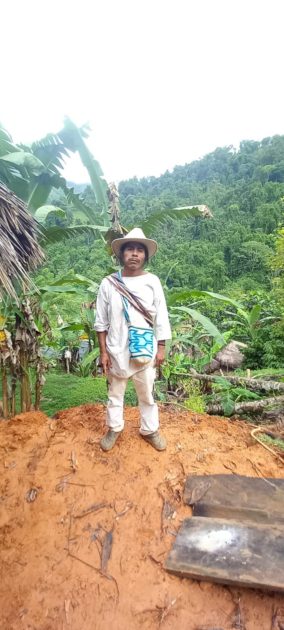
But local indigenous people, including the Koguis, Wiwas, and Arhuaco, all descendants of the Tairona, say they had always known the city’s location and had visited it but preferred to keep it secret.
How can you get there?
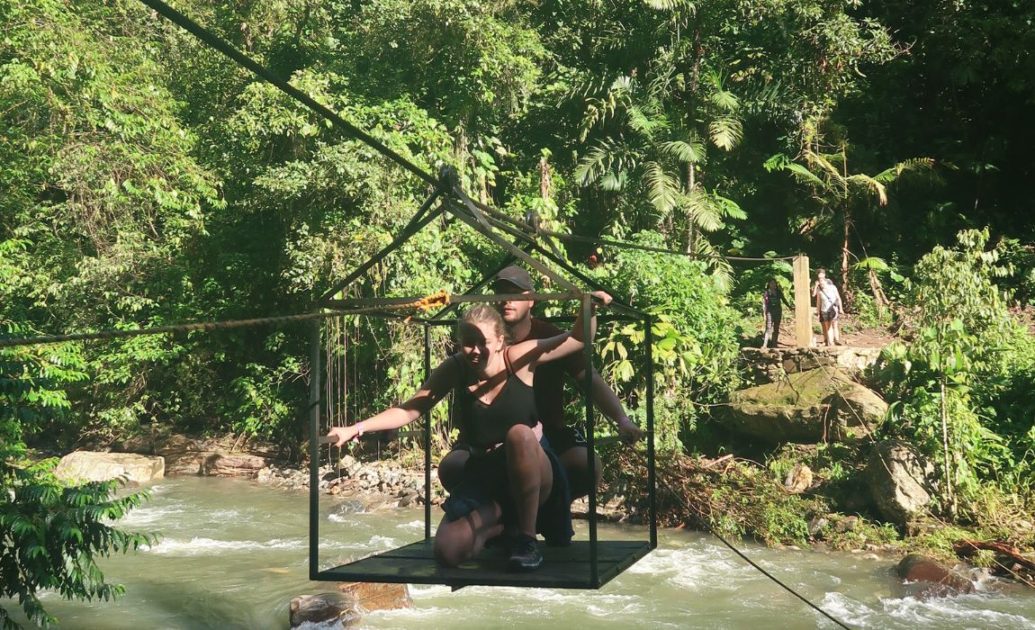
The Lost City is buried deep in Colombia’s jungle, and it is impossible to access it by road. The only way to reach the Ciudad Perdida is to walk there, a 44km hike that includes several river crossings and steep climbs.
The Ciudad Perdida is more than 600 years older and, unlike its Peruvian counterpart, Machu Pichu, no trains or buses allow easy access to reach its ruins. The only way to witness its beauty firsthand is on foot, which is one of the things making the Lost City so unique.
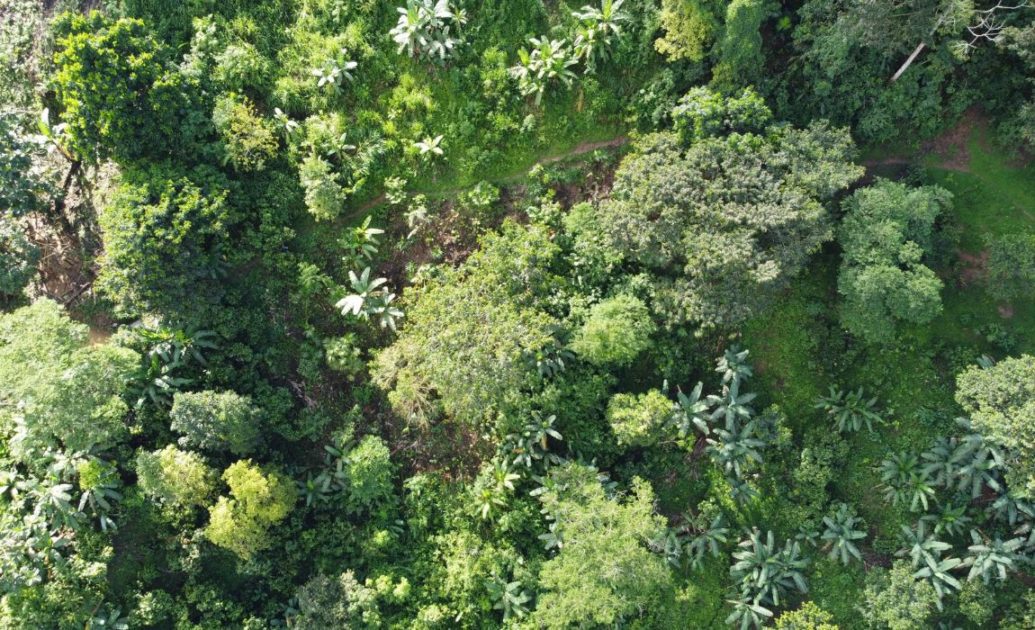
It will take you between 4 and 6 days to complete this trek, while most people decide on the 4-days option. The walk is moderately complex and requires a good level of fitness. During the hike, you will be able to observe farms cultivating coffee and cocoa, enjoy the biodiversity, and cross the river Buritaca and its waterfalls. You ultimately reach the Lost City by climbing the 1,200 stone steps.
How much does the Lost City Trek cost?
The Lost City Trek is offered by multiple agencies. A list of them you can find in the next Chapter. They all offer the same price, whether for 4,5 or 6 days. The cost is COP 1.400.000, which is about USD 350.
What’s included:
- Pick up in Santa Marta
- Transport in a 4 × 4 Jeep
- Local Guide and English Translator
- Complete feeding
- Snack and Fruits on the Trek
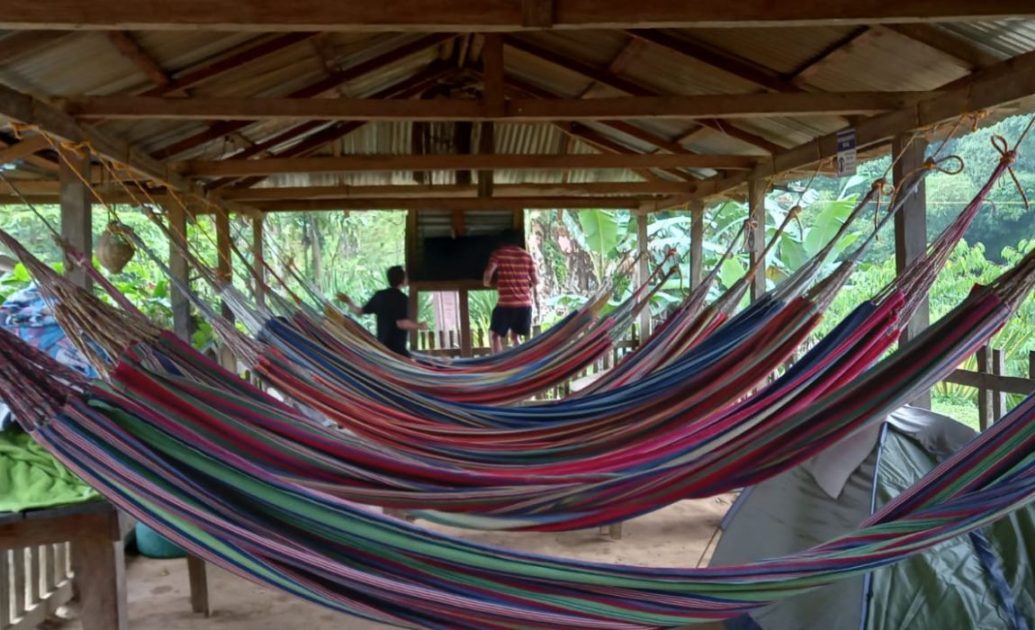
- Accommodation in hammocks, beds, or tents
- Entrance to the Archaeological Park
- Travel Insurance
- Contribution to the Indigenous Community
- Contribution to the Peasant Community
What’s NOT included:
- Breakfast on the first day
- Alcoholic beverages
- Mules for carrying baggage
Available Tour Operators to do the Lost City Trek
Different Tour Operators offer the Lost City Trek. They all provide the trek for the same price and what is included is also the same. But some differences can really change how you experience the tour to the Ciudad Perdida. It will also really depend on the group of people you are doing the hike with but below, you can find some of my thoughts about the different Tour Operators.
MagicTour
This is the Operator we chose for our trip, and I honestly have to say, we were not super happy. We were a big group of 14 people plus our two guides. I don’t know if that was because a Tour a couple of days beforehand got canceled, but for our preferences, it was just a bit crowded.
Our English Translator was also not the best. I speak both English and Spanish, so it was apparent that she often left out a lot of information the guide told us during translation. If I had only spoken English, I would have missed out on a lot of information.
Another fact that was bothering us was that we were the only group that had to sleep in another camp in hammocks. You can find out more about this in the detailed day-by-day description.
And lastly, I must add that my friend I was traveling with hurt her foot. Our Guides did not have any first aid equipment on them, and in the end, a Guide from Expotur approached her and offered his help.
Expotur
From my perspective, this is the agency I would recommend. I only read positive reviews, and they are supposed to travel with small groups only. On our journey, the Expotur guides were very attentive and seemed very cheerful. My sister will do the Trek with Expotur in October so I will add her experience later.
Wiwa Tours/G Adventures
This agency differs a lot from the others because it is the only tour with a Native Indigenous Guide. This can be interesting because you might learn even more about the history of the Sierra Nevada.
On the other hand, it can be challenging to understand the guide since they usually speak Spanish with a heavy accent.
Turcol Tours
Teyuna
About those two organizations, I can not say a whole lot. Both have good reviews online Teyuna seemed very organized with small groups on the trek.
When to do the Lost City Trek
First, The National Park is closed every September for the entire month for preservation and maintenance. During this time, the indigenous communities perform ceremonies and offer payment to restore energy balance.
The Rain season (March to November): The trails will be much more slippery and muddy. Crossing the Buritaca River is a little more complicated due to the higher water levels, and this means you may have to wade through the river with water at knee or waist height. There is also a 90% possibility of afternoon and evening torrential rainfall. Tucked up in your camp is admirable – if you are still on the trail, you will get soaking wet.

The dry season (December to March): During the dry season, it rains less, making the Buritaca River crossings easier. On the downside, the dry season also sees the most significant flow of visitors, so the camps can get quite crowded. During this season, the mosquitos are also a lot more active.
Is the Lost City Trek really that difficult?
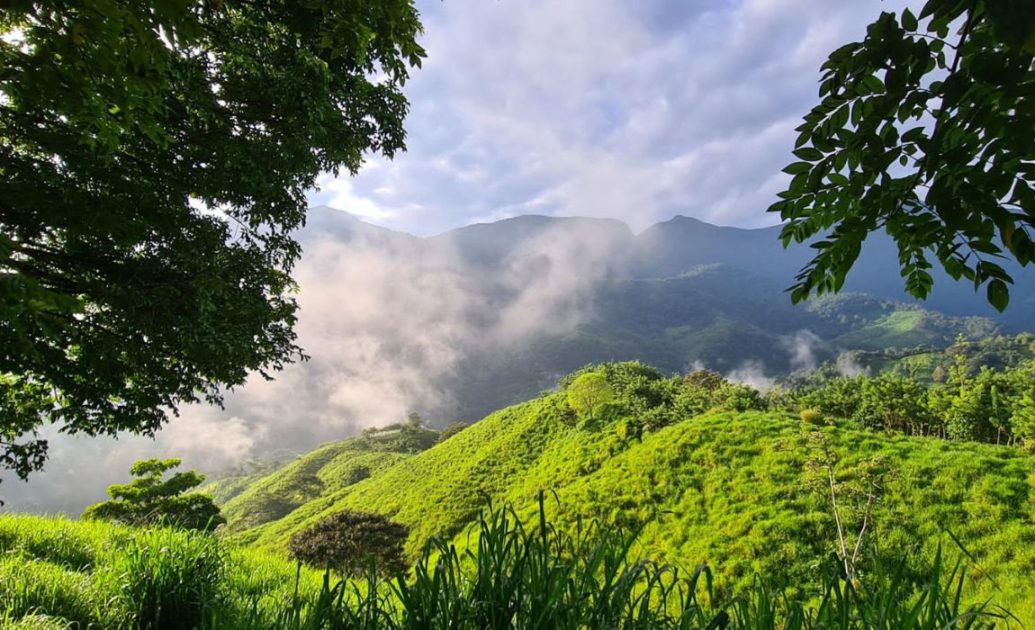
Trekking to the Ciudad Perdida (Lost City) is considered to be quite the difficult excursion, requiring high levels of stamina for steep uphill climbs and downhill navigation. The Lost City sits at an altitude of 1,200 meters (3,937 ft.) above sea level and is the highest point of the trek. You don’t need technical equipment such as ropes and harnesses, but the raw, uneven jungle territory with narrow pathways, loose rocks, and mudslides makes this trek challenging.
In 4 days, you will have to take daily walks of approximately 5 to 8 hours along trails marked by the footsteps of the Native Indians of the Sierra Nevada, who still inhabit this wonderful place in the middle of the jungle.
While the physical aspect of the hike itself is challenging, it is not the most difficult hike I have ever done. The heat, the humidity, the sleeping conditions, the early mornings, general jungle life, and the high risk of food poisoning turns the Lost City Trek into one of the most challenging things I’ve ever done.
Overall I would say that a positive mental attitude and a willingness to take on new experiences are as essential to completing and enjoying the route as your decent fitness level. Yes, it is challenging, but it is so worth it!
Should you choose the four-, five- or six-day trek to the Lost City?
The most common option is the 4-day trek. We also did the Lost City Trek in four days and were quite happy with it. Most trekking operators offer four-, five- or six-day trek options.
The route is always the same, with the main difference that a five-day trek includes a more relaxed day with less trekking for the individual days. As for the six-day option, we can’t really imagine taking that much time to do the trek.
I recommend the 4-day option because eventually, you just want to return to civilization and get out of your stinky clothes. Another factor is that you will also have to pack more clothes if you decide on the 5- or 6-day trip, which makes your backpack heavier. But if you are worried about your trekking abilities and stamina, those more extended options might be better for you.
What you need to pack for the Lost City Trek
Here is some basic information you need to know before starting to pack. Firstly, you must pack as little as possible for the Lost City trek since you will carry your backpack the entire time.
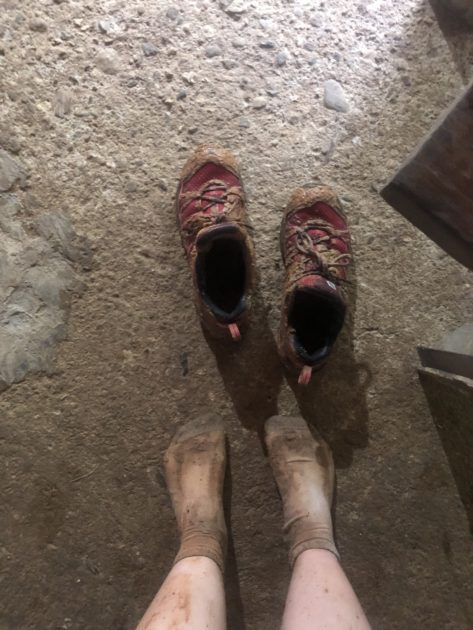
The jungle is humid, and you will get soaking wet, especially in the rain season. Therefore, trying to keep all your belongings dry is super important. Otherwise, you will be super uncomfortable, miserable, and chilly. Washing something at the end of the day and hoping that the clothes will be dry by the morning – your chance is around 0.
My suggestion is: Pack EVERYTHING in Zip Lock Bags. Your Clothes, your Toiletries, your Electronics…everything. But pack them in different Zip Lock Bags and make sure to have extra Zip Lock Bags, to put your wet clothes in there. Trust me, you will be thanking me.
This Packing List is primarily for the Rain Season. Doing the trek in the dry season, you might not need as many clothes since they won’t get wet every day.
Clothing
- Four trekking t-shirts and three pairs of trekking pants/shorts (quick-dry material is better). Yes, it sounds like a lot, but believe me, nothing is worse than hiking in wet clothes and being cold. I had to wear a new t-shirt every day because it was soaking wet from the rain and would not dry at night.
- A light jacket for the camp. Since it is so humid, you don’t need a down jacket or a heavy jacket. I took a rain jacket with me and used it in the camp when it got cold. During the hike, a rain jacket will not really help you. First, you will sweat due to the humidity; eventually, your jacket will be soaked due to the heavy rain.
- A long pair of leggings or joggers. Only use those when you’re in the camp, so you always have something dry to change into. Take a long pair, so you don’t get bit by the mosquitos.
- Long Sleeve Shirt. Only to wear at the camp
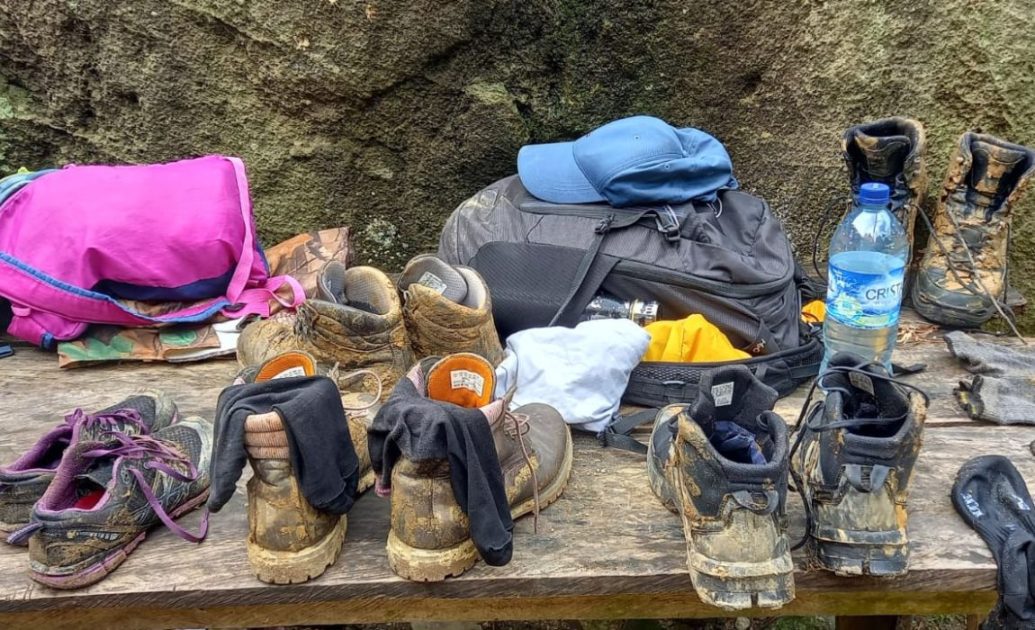
- Good fitting and already broken-in trekking shoes are essential, especially when walking on steep and downhill terrain.
- Flip flops or sandals to change into at the end of the day and for use in the shower.
- Underwear, because you want something to feel clean! Enough to last as things don’t dry very quickly overnight.
- Socks. One of the most important things. My shoes have been wet since day one, due to the heavy rain and the river-crossings. I took six pairs to change into new dry ones after the lunch break.
- At least two sports bras. I feel like it was listed nowhere in any of the guides. But believe me, it is really not a nice feeling, having to put on a wet bra.
- Bikini/swim trunks. Since there are plenty of waterfalls and water spaces along the trek, make for a relaxing cool-down after a hard day of trekking.
Trekking Equipment
- One 20 or 30-liter daypack
- Walking Sticks are a perfect means to balance and control the trek’s difficult parts. You don’t necessarily need one. My guide cut me a nice stick from the jungle, which was just as good.
- Headlamp for use at the camps. Electricity and lighting are turned off around 8-9 pm.
- Refillable water filter bottle. Each trekking group typically has its own water tank assigned at each camp, but to be sure not to feel sick, you should take a Water-Filter Bottle.
- Microfibre towel. For the shower every afternoon when arriving at cam. Quick dry material is the best option.
- Trekking sandals. To cross the rivers. I didn’t have any, but I think they would come in quite handy. Although it is pretty annoying having to take your trekking shoes off at every river crossing.
- Waterproof Backpack Cover
Toiletries
- Mini-sized shampoo and shower gel.
- Toothbrush and small toothpaste tube.
- Decent mosquito spray bought locally. Make sure you bring enough mosquito spray. We were here during the rainy season and used one bottle each since the mosquitos were so bad.
- Sun cream lotion. Despite some jungle cover, there is still a lot of sun exposure, even if it does not seem “sunny.”
- Toilet paper. Take a roll of Toilet paper and remove the inside so that it is lighter. All the camps are equipped but can easily run late into the evening.
- Regular medications because you can’t purchase anything on the trek.
- Anti-diahriaa medicine. Half of our group got food poisoning. Make sure to be well prepared because it happens quite often during this trek.
- Foot care and blisters. Due to the wet shoes. You will quickly get blisters.
Extras
- Camera and Phone. There’s no WiFi out here, but the phone can be used as a torchlight or simply as a camera.
- Money for buying drinks and snacks. Every camp has a mini snack store with soft drinks, beer, chocolate, and other snacks.
- Passport. You can get a Passport Stamp at the Entrance of the Ciudad Perdida, so be sure to bring yours.
- Plastic Zip Lock Bag. To keep dry clothing separate from wet clothing.
- Drone. If you have a drone, you should definitely bring it. You are allowed to fly it from the Ciudad Perdida.
- Earplugs. It can get quite loud in the evenings. If you want to go to sleep early, bring earplugs.
- Travel lining. The beds are not the best. They are kinda smelly since hundreds of stinky hikers have slept in them before. A couple of people got a rash one night, and we’re pretty sure it was from the bed.
San José del Guaviare
The hidden gem of Colombia – experience the real Colombia.
Valle de Cocora in Colombia
One of the tallest palm trees in the world, only growing in Colombia.
Seven days in the Amazon
A beautiful off-the-grid ecolodge in the middle of the Amazon.
Day by Day Itinerary with a detailed description of the Lost City Trek
Lost City Map
Here you can find the map of the trek to the Lost City.
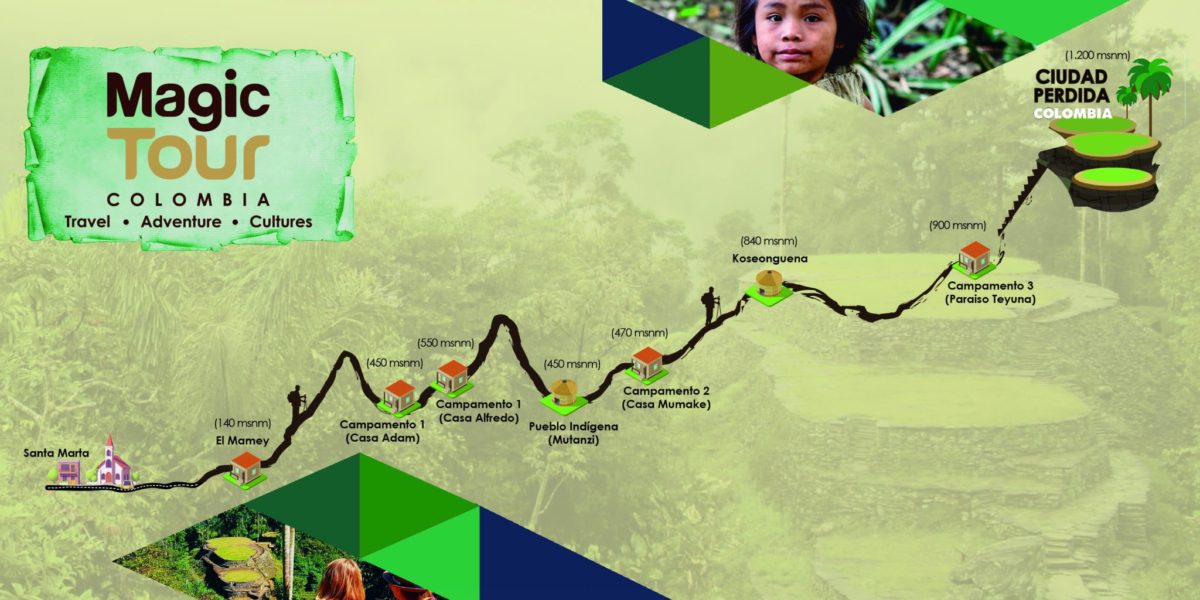
The kilometers and hours for the regular trek:
Day 1: 7 kilometers – 4 hours
Day 2: 17 kilometers – 7 hours
Day 3: 11 kilometers – 6 hours + 2 hours hike around the Lost City
Day 4: 16 kilometers – 7 hours
Day 1
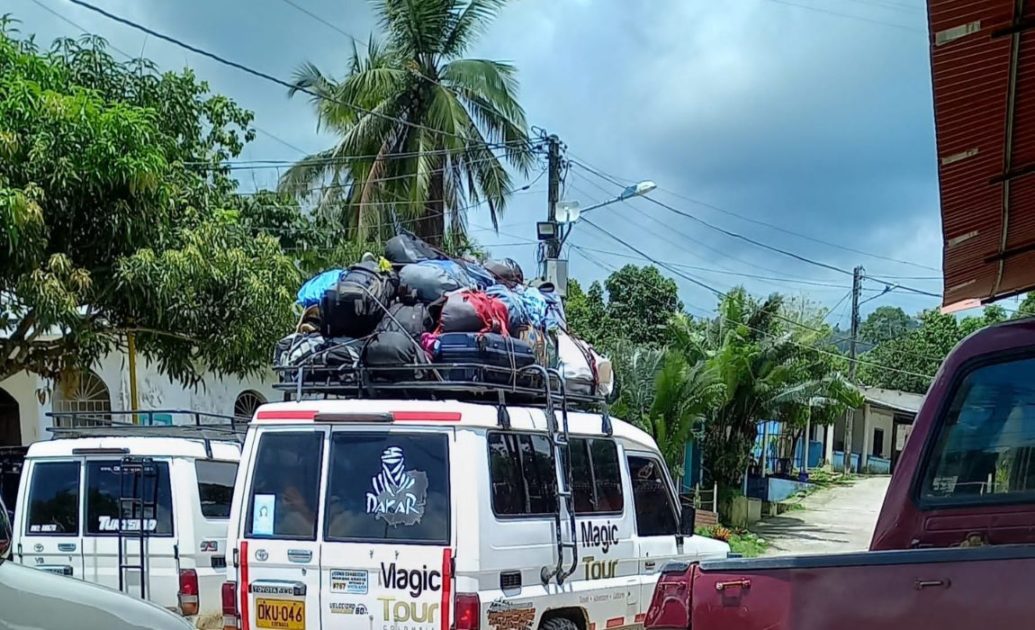
The first day of our big adventure. Around 8:00 am, we arrived at the office of MagicTour in Santa Marta. You can also get picked up, but our hostel was right around the corner. The big luggage we had left in the hostel. There is also the option to leave it in the MagicTour office.
After waiting an hour for everyone to arrive, we got into a Bus and started making our way to the Ciudad Perdida. About an hour from El Mamey, the starting point of the trek, we got into 4×4 Jeeps, which took us across the bumpy road. If you have car sickness problems, you should ask to sit in the front.
Once we reached El Mamey, we had a tasty lunch and split into groups. Our group consisted of 14 people from the UK, the Netherlands, Spain, and Germany. As we started our journey, it had already started raining. Our goal for today was the camp, which was 9 kilometers away.
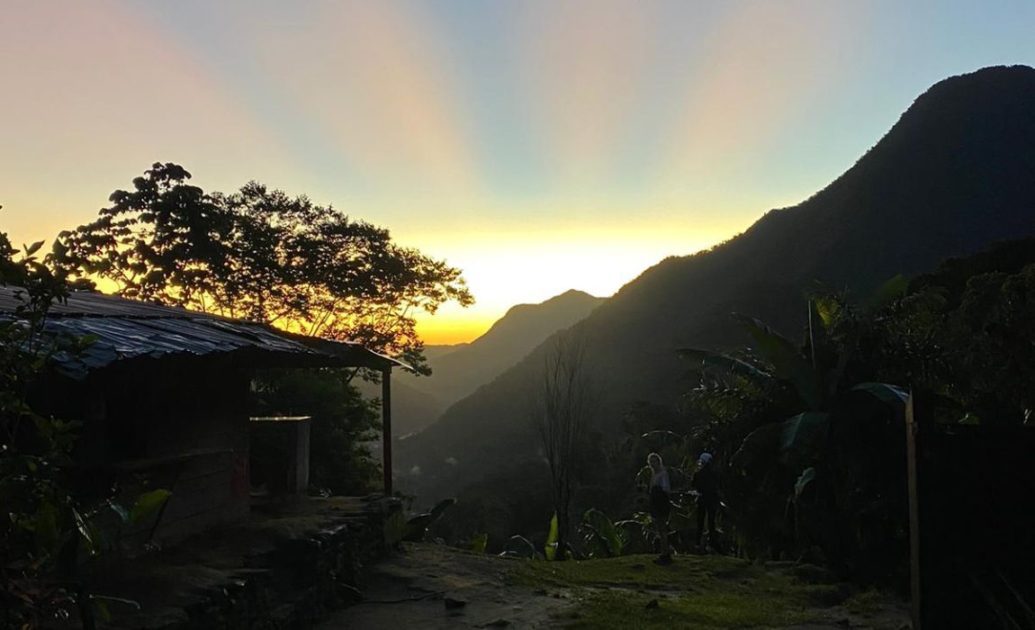
After 4 hours of steep uphill hiking, we finally got to the camp. We were utterly soaked because it rained the entire afternoon. After a shower, dinner, and a friendly chat with the other group members, we went to bed.
Day 2
Today is usually the day with the longest hike. Due to a mudslide, the camp we wanted to reach got destroyed, and there was not enough room in the camp next to it. For that reason, our hike today was significantly shorter than the 17 kilometers planned.

The trek today was pretty and did not rain as much since we left early in the morning. In the afternoon, we reached a small shed on top of a mountain. This is where we would have to sleep tonight – in hammocks. The other groups continued the hike to the next camp, closer to the Lost City. We got Spaghetti and Tuna for dinner, which was probably why half of our group had food poisoning the next day.
Day 3
We had to get up extra early today since today was the day we would reach the Lost City. On top of that, we had an extra 7 kilometers to make up, which we did not hike yesterday due to the mudslide and insufficient space in the remaining camp. The overall goal for today was, therefore, 22 kilometers. No worries, if you do the trek with no mudslide, you normally only have to hike 11 kilometers on that day.
Good thing half of our group had food poisoning. But we all kept fighting through the pain and getting closer to the Ciudad Perdida. After climbing the last 1200 steps, we finally made it! It is unreal! The Sun was shining, and the entire site was just breathtaking. The fact that only the people that went through all the pain did get to enjoy the Lost City makes it even more special. After enjoying the Ciudad Perdida for about two hours, we made our way back.
It is a long journey back to the camp we will sleep in tonight. My friend, who joined me on this trip, is really struggling because her feet are full of blisters at this point. Eventually, we get to the camp. No one is really hungry because we’re still feeling sick, so I just fall into bed and sleep until the following day.
Day 4
On the final day – today, we will return to civilization. It’s around 06:00 am when we leave the camp. Today we will have to climb up two steep mountains. Climbing up the first mountain was really intense.
We had a little break at the camp where we slept the first night, and then we had to get up the second mountain. This one wasn’t as bad. Another two hours downhill, and we eventually got to El Mamey. We were so happy to be back. And after a quick lunch, we jumped in the Jeep, which drove us back to Santa Marta.
Wrapping Up
It is intense. One of the most intense things I have ever done.
But it is so worth it! You will be challenged, and maybe you will even get to the point where you want to give up, but believe me, the trek is so worth it.
It is such a remote site in the middle of the Colombian jungle, but you will be so proud of yourself after accomplishing it. I can only recommend it. We were exhausted and kind of broken, but it was worth it.
This article may contain affiliate links. I receive a small commission when you purchase products or services through these links at absolutely no extra cost to you. This is a free way to support me and allow me to continue to create inspiring adventure travel guides. See my disclosure notice for more information.